Show Posts

This section allows you to view all posts made by this member. Note that you can only see posts made in areas you currently have access to.


Messages - IncomT65

Pages: 1 ... 23 24 25 26 27 [28] 29 30 31 32
406
Yeah, making pictures with flash often hides neat details and colour from the eye to see. Still, that Sandcrawler droid does look cool, despite of the flash! And Col. Yularen looks very nice as well. He's the guy at the round table on the first Death Star right?

407
I looked at all your latest customs and I agree with everyone else: outstanding work  ;D!

But it would be easier to post them all in one thread and update that one from time to time  :).

I can't quite place all the different parts you used for your female customs. Something tells me it's not all SW fodder right? I would love to see some recipes on those.

408
....  :o (I'm speechless in a very very very positive way  ;D)

409
Yup, excellent work on that new kama design, Paul! I shared more detailed thoughts on GalacticArchives  :D

410
Customs Community and Group Projects / Re: It's a boy!!!
« on: July 14, 2006, 04:17 PM »
Congrats JediDre! Prepare to be amazed. I have an 11 month old daughter myself and let me tell ya, fatherhood is everything it's cracked up to be  ;D

411
Fan Art / Re: Sandtrooper
« on: July 13, 2006, 02:22 PM »
Whoa, very nice indeed! And welcome to JD  ;D

Only little thing that I noticed was the left air filter (if that's what it is?) of the trooper that holds the binoculars. It seems to be 'hanging' a bit too low...

412
Star Wars Action Figures / Re: Monstermonkey's customs
« on: July 13, 2006, 02:00 PM »
Really good paint work there, Monstermonkey! My favourite of this bunch has to be Yak Face. What fresh and vintage like colours! Painting his facial hair white really makes him complete. Very good.

413
I think you can find it at any household store or supermarket. Like I said, I used one of those strips which you use for tying up a garbage bag. They're metal, but have a plastic covering for safety.

414
Great Bulq, JediStyle. Paint apps look very good! I remember Sora having a darker skin tone in the comics, though, but I'm not 100% sure. Add the fact that I'm partially colourblind, I shouldn't be talking about colours at all  ;)

I'm very curious whose arms you used, though. They might work for my Kass Tod figure...

415
There ya go!  ;D Excellent!

416
Thanks everyone for the comments! Hopefully you'll be able to put this to good use.

CloneCommander1, a D-ring would be ideal for your already excellent Snowspeeder Luke  ;D

417
Here's how to make a D-ring for your figure's lightsaber hilt. Initially from FFURG, but instead of superglueing the D-ring on the hilt, I prefer making one through the hilt. This allows for free movement of the D-ring, which makes it easier to let the saber hang more naturally of your figure's belt.

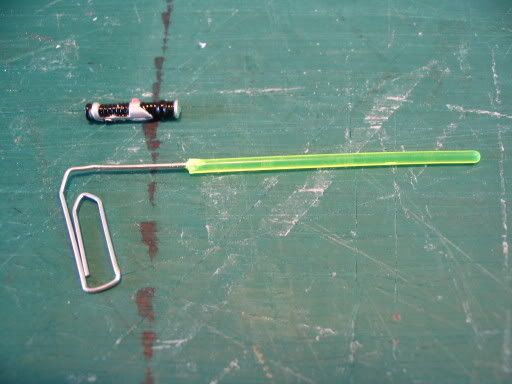
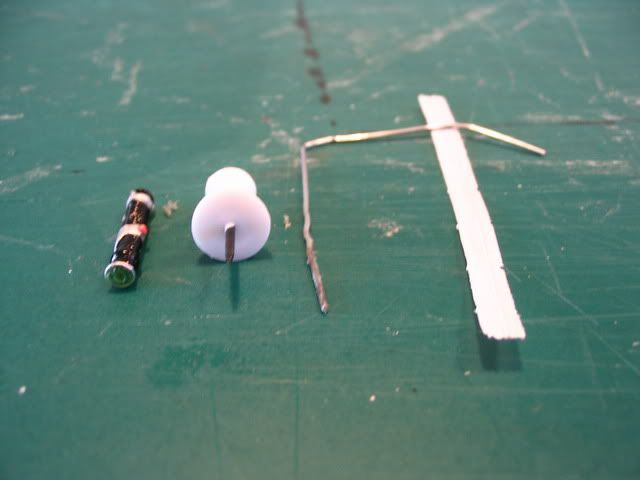
These are the main supplies for making a D-ring: a lightsaber hilt, a push pin, the paper clip from making the removable blade and a tie strip (the ones for tying up plastic garbage bags, sandwich bags, etc.):


Push the push pin firmly in the saber hilt. Not all the way through, just enough that it stays in:


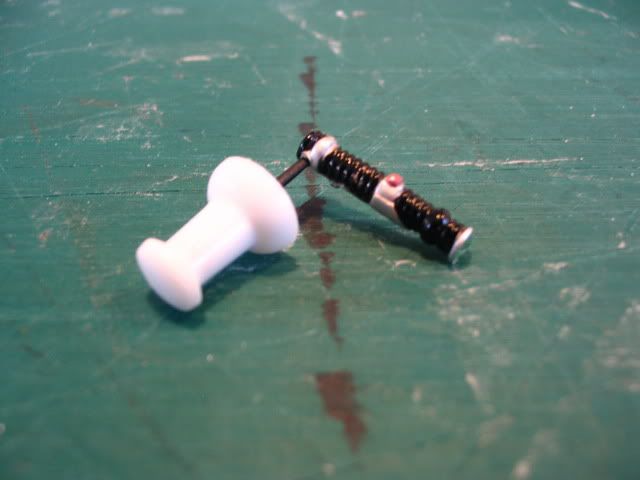
Remove the pin and heat up the paperclip over a flame. Let it become quite hot. Better hold the paperclip with plyers. Push the hot paperclip firmly in and through the hilt at the spot where you pushed the pin in. Then remove the paperclip:


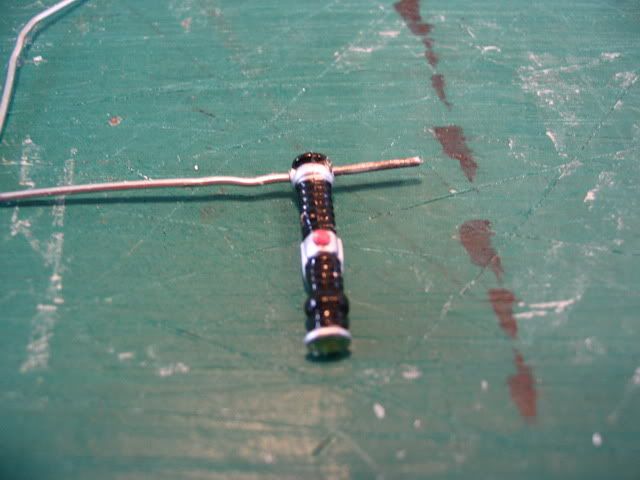
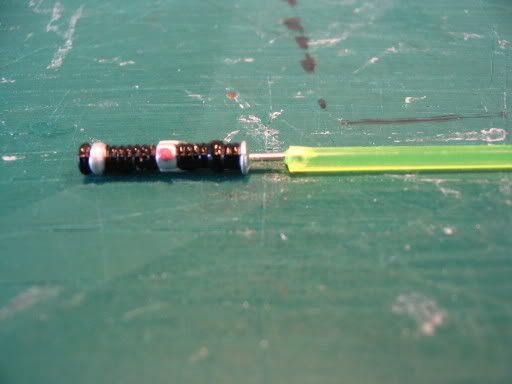
Strip the tie strip of it's plastic and loop the metal thread twice through the hole in the hilt:


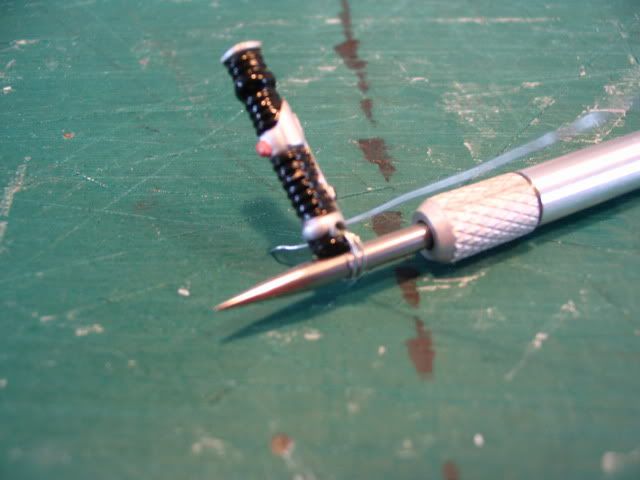
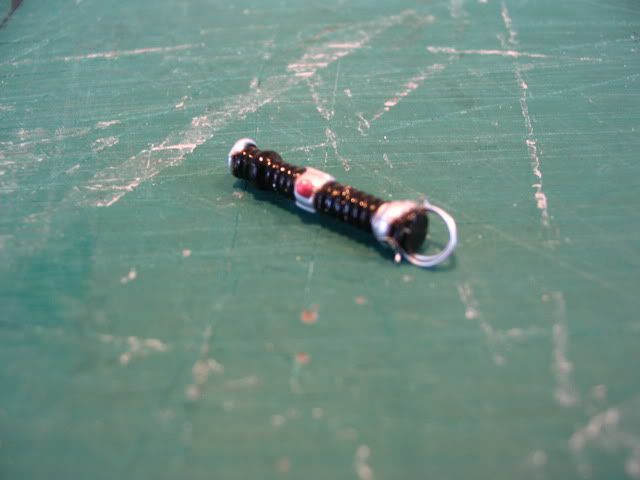
Place a round object (like this pick, a toothpick, the blade of the lightsaber, depends on how small/large you want the D-ring to be), in the D-ring and pull both 'loose' ends tightly:


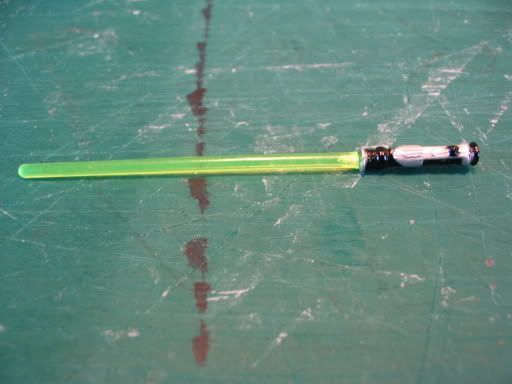
Using a wire cutter, cut off the loose ends as close to the hilt as possible. What I did was tightening the D-ring a bit more, cut off the ends and remodel the D-ring with the pick:


Push a pin in your figure's belt and superglue another piece of paperclip in that hole. After the glue has dried thoroughly, bend the paperclip in a 90+ degree angle and cut it off to the right size. You might want to make the point less sharp:


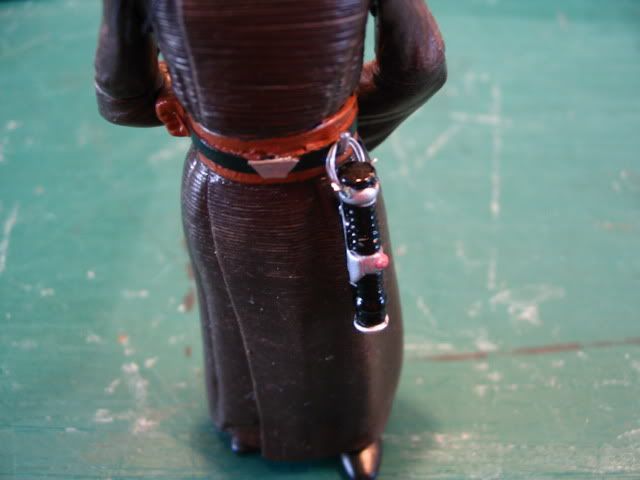
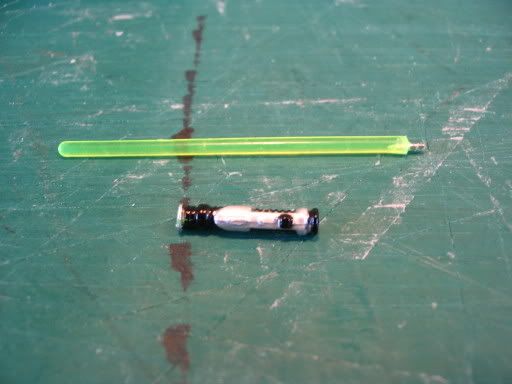
There you have it. This is quite easy to do, but it adds much to your custom.

- Incom

418
I'm planning on making a Tott Doneeta (Twi'lek Jedi from Tales of the Jedi). It was suggested I use Sculpey Bake 'n Bend to make the lekku. Anyone familiar with that?

419
No problem, BrentS, just made a new topic of it  :)

420
FFURG has a text-only tutorial on how to make 'fixed-blade' sabers into sabers with removable blade. I pretty much followed the entire procedure, but took some pictures to make things clearer. Here goes...

Take your 'fixed-blade' of choice:


Cut the blade off precisely at the emitter. Using a pick or a push pin, make holes in the blade and the hilt, in a manner that the holes are at the same position on both parts. Do this very carefully, by gently but firmly twisting the pick/pin in the parts. Only has to be 3 or 4 mm.:


Take a paperclip and superglue one end in the blade:


Cut off the paperclip so that the 'peg' in the blade is too long. Place the blade in the hole in the hilt and mark where the peg enters the hilt. This way you know how deep the hole in the hilt is and how long the peg has to be. I just held my thumbnail on the spot and eyeballed the length:


Place the blade in the hilt and check if it doesn't fall out easily. If so, drop a little superglue on the peg, put it in the hilt and very slowly turn the blade until the glue starts to settle. Familiar to tightening joints, not unknown to you, I'm sure:


That's all there is to it  :)

-Incom

Pages: 1 ... 23 24 25 26 27 [28] 29 30 31 32