my camera was down for about a month, preventing me from documenting some of my work on this figure.
I was therefore unable to document some progress steps that occurred during the cameras repair time.
Since those updates on the figure will be evident in the photos that Im about to post anyway, I will list what those updates were.
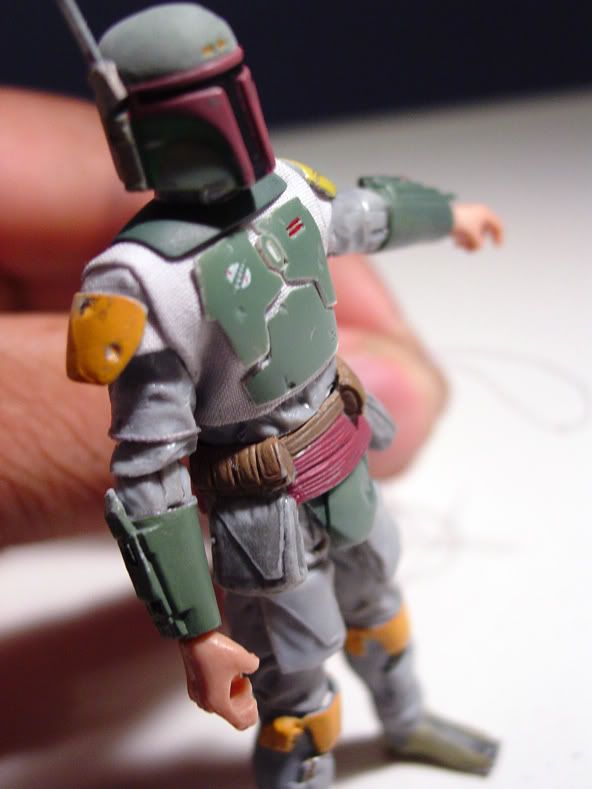
1) The rangefinder on Bobas helmet was shortened by about 2½ scale inches.
2) The cheek stripes on the helmet were re-painted in the correct flat black.
3) The T-visor on the helmet was re-painted in a darker shade of red. (Note: this T-visor re-paint was something that I was originally NOT planning to do . But admittedly I did change my mind about the desirability of the toyetic bright red after I saw it contrasted against the new flat black cheek stripes.
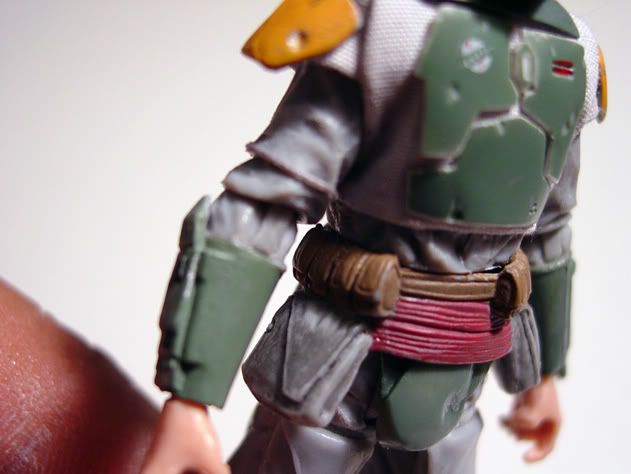
4 The minor paint rubs on the utility belt have all been touched up.
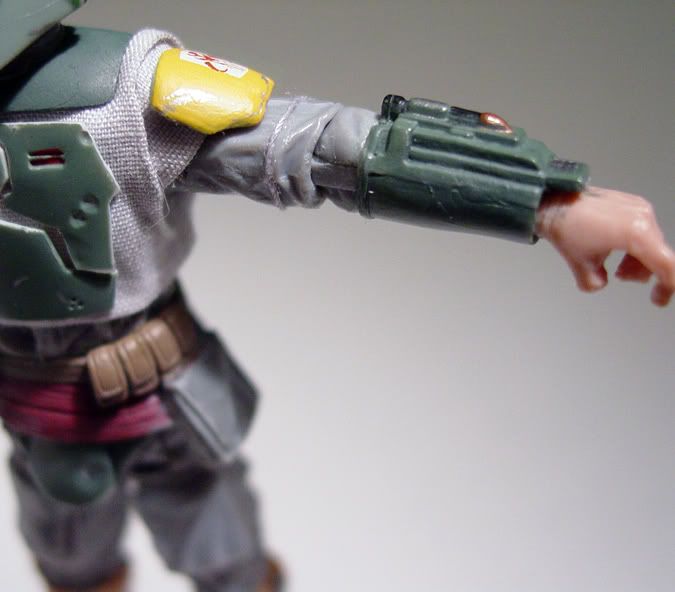
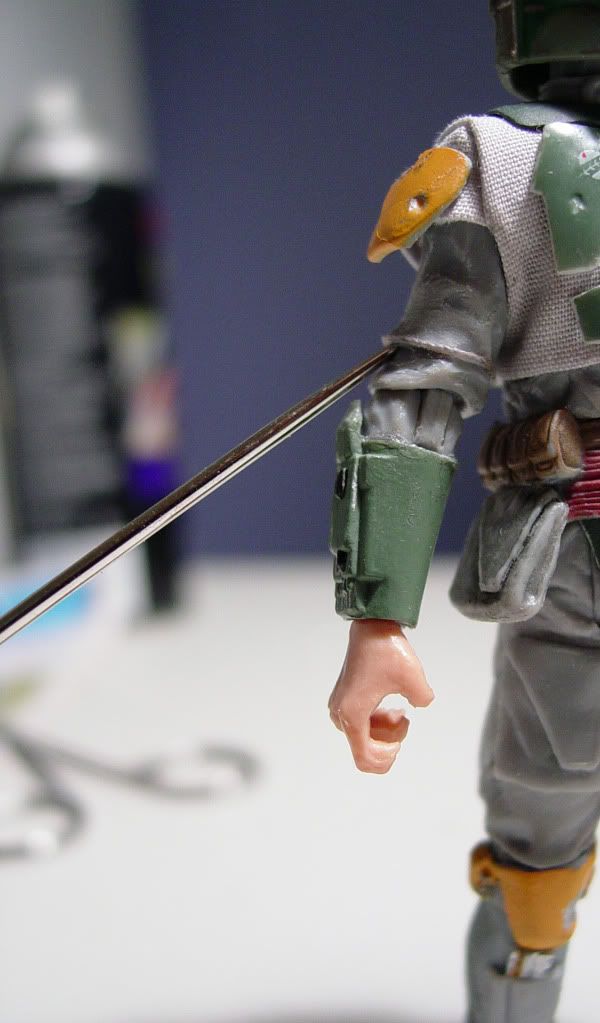
5 The armored shoulder bell for Bobas left shoulder has been re-painted in the correct canary yellow. Knee pads and right armored shoulder bell have been left orange yellow.
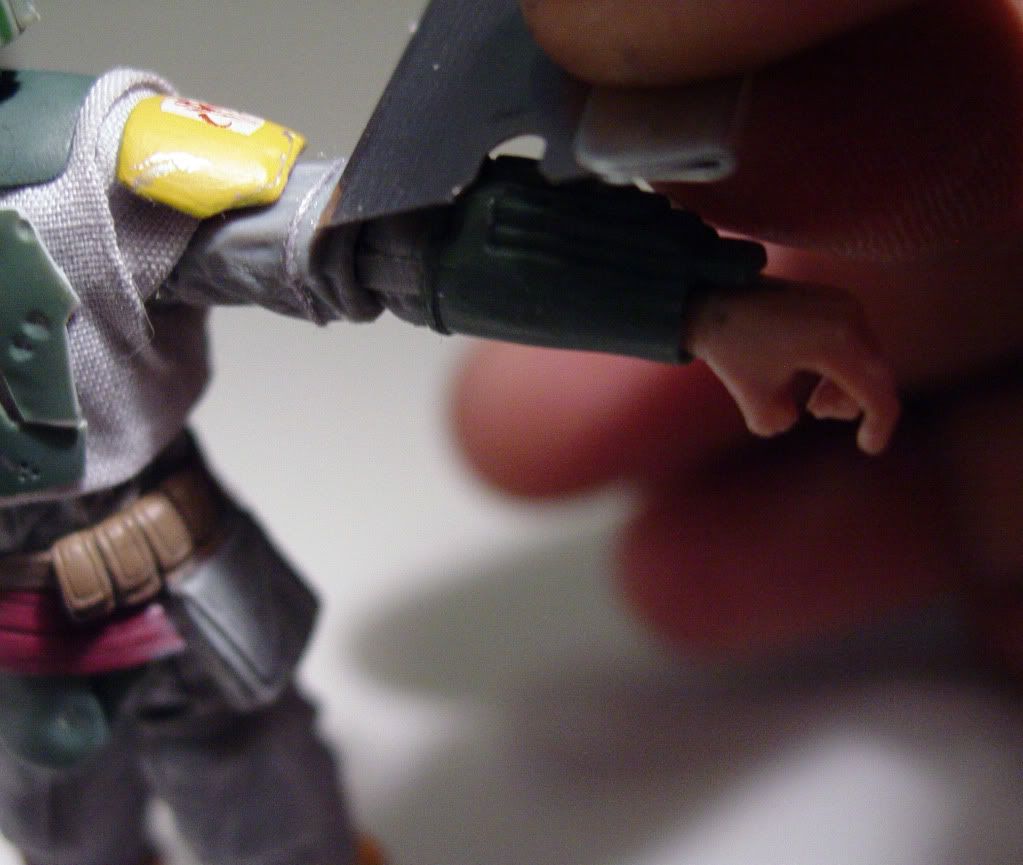
Undoutedly, the most time-consuming operation I performed yesterday was converting the Imperial Scanning Troopers arm sleeves into Boba Fetts correct double sleeve (sans arm mini pocket).
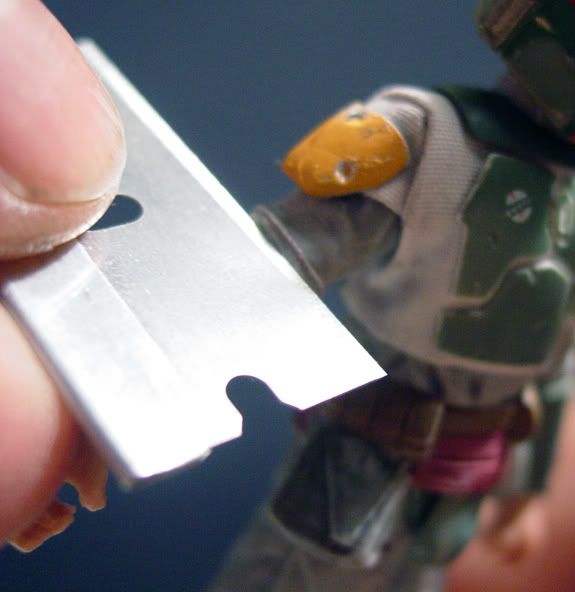
The first thing I did was to use an X-acto blade to carefully shave away the mini-pocket molded to the right arm. I gave the area a fine sanding to smooth it off, and then I got to work making the upper arm double sleeve.

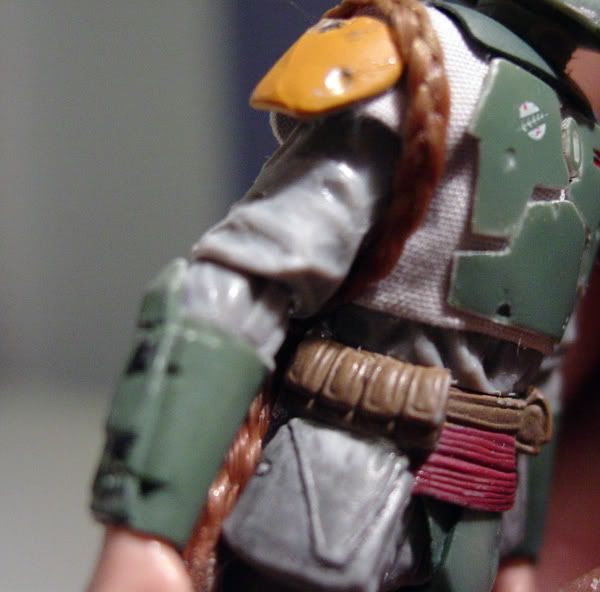
I used some sewing thread to layout the edge of the upper sleeves by carefully gluing it down around the circumfrence of both arms. Then, with my trusty razor (God, what would I do without that thing?) I re-sculpted the lower sleeve into a narrow taper that appears to emerge from underneath the upper sleeve.
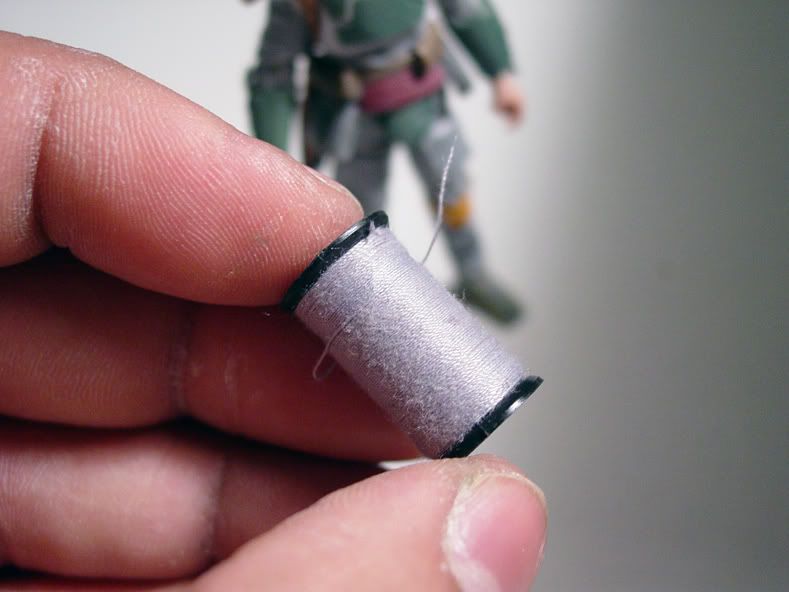
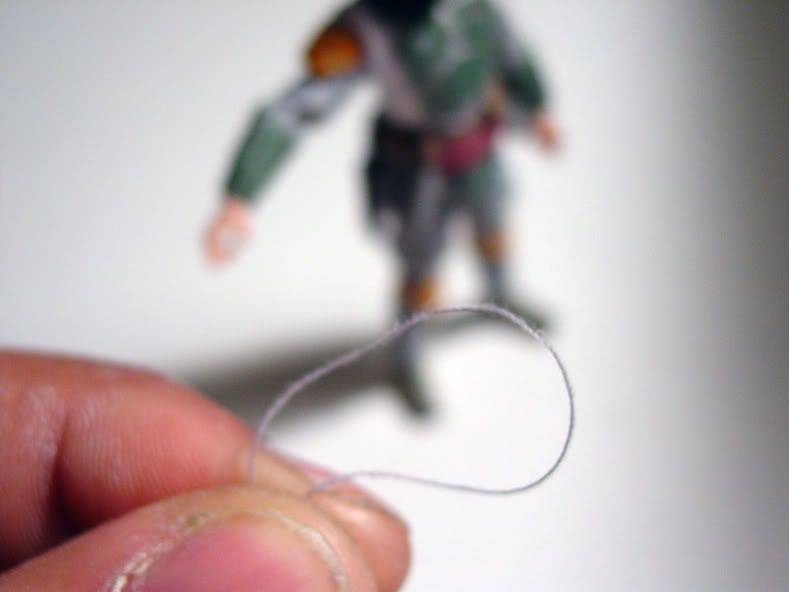
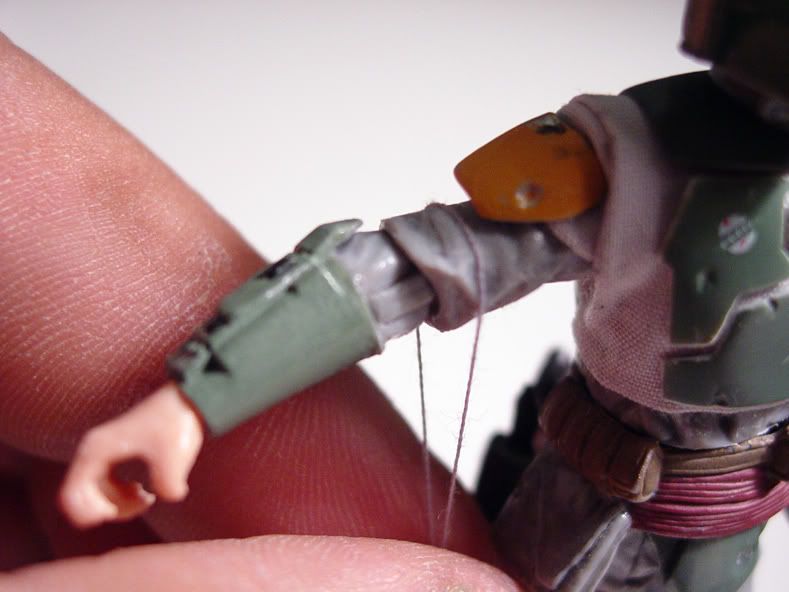
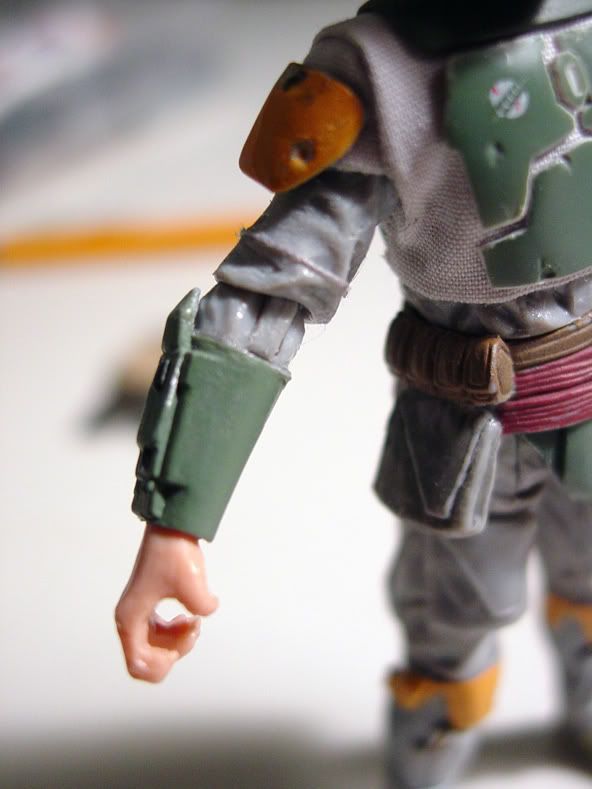
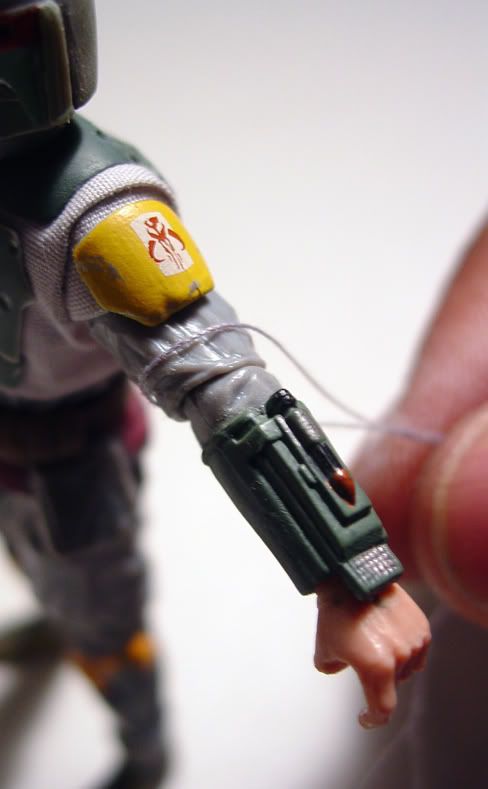

The guide thread at the edge of each new upper sleeve is only TEMPORARY. They will be replaced by micro-thin ribbon to simulate the sleeve cuffs.
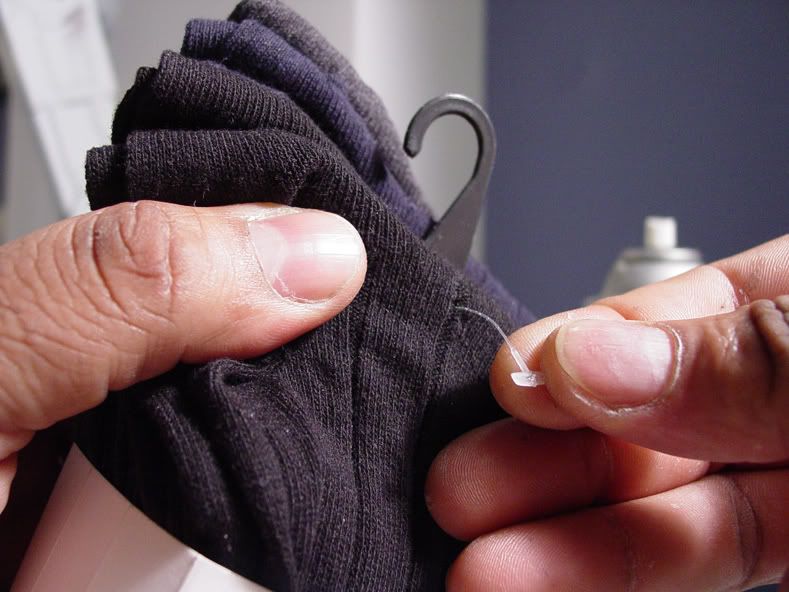
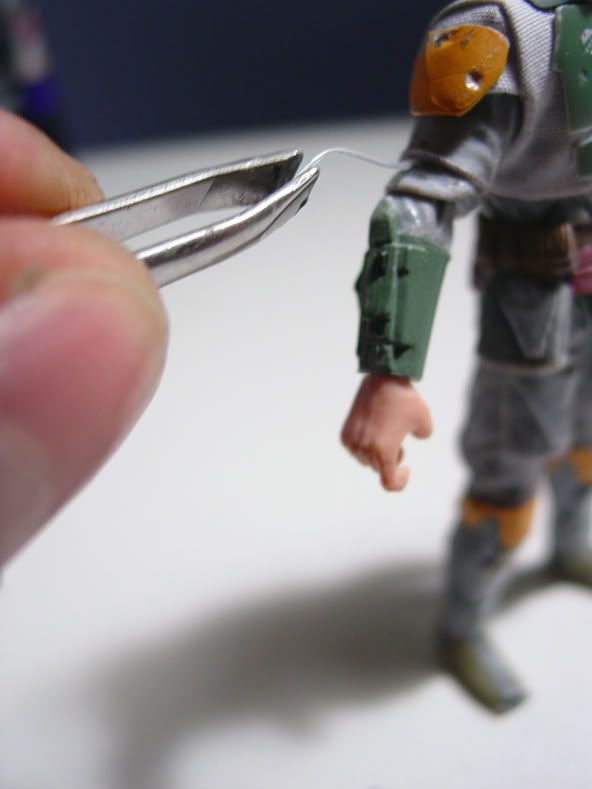
Bobas right arm weapon gauntlet features a clear power tube that tucks underneath his right arm upper sleeve.
I used a big needle to make a hole underneath the upper sleeve ridge that I created. I then made a second hole in the coupling on the wrist weapon gauntlet. These would be the two connection points for the gauntlets power feed tube.

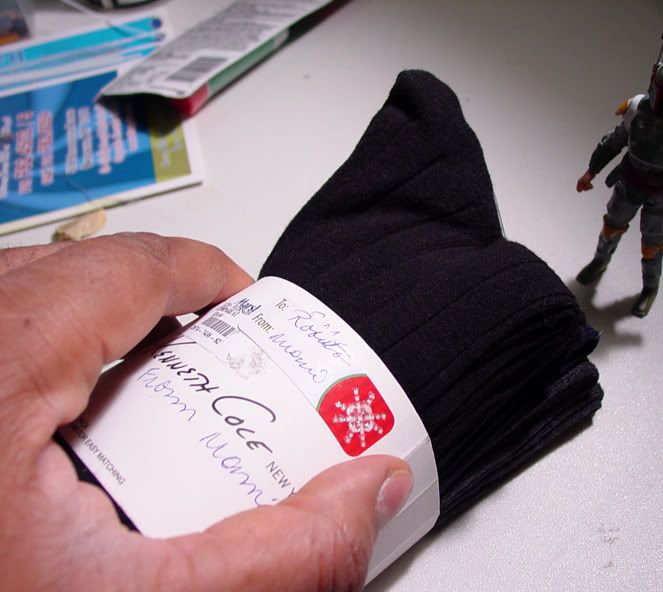
I looked around the house for a suitable item to use as the tube. A tiny white / clear plastic binder on the bundle of new sox that I just bought was something that I thought might do the trick. In the end, I rejected it because it did not look like a tube to me, it seemed a bit small in its scale, and it did not have the flexibility I was hoping for. It kept popping out of the sleeve connection point every time I posed the figures elbow.
I knew I was going to need a far more flexible material to resolve that issue.
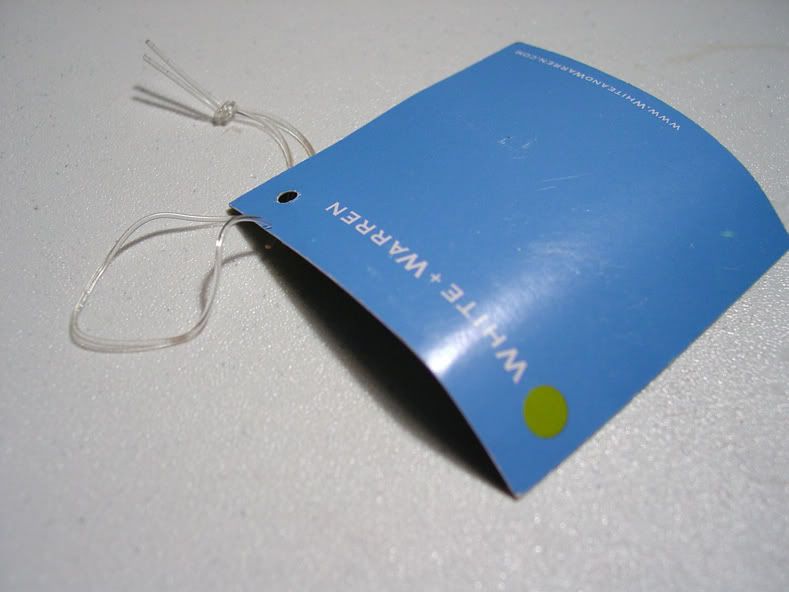
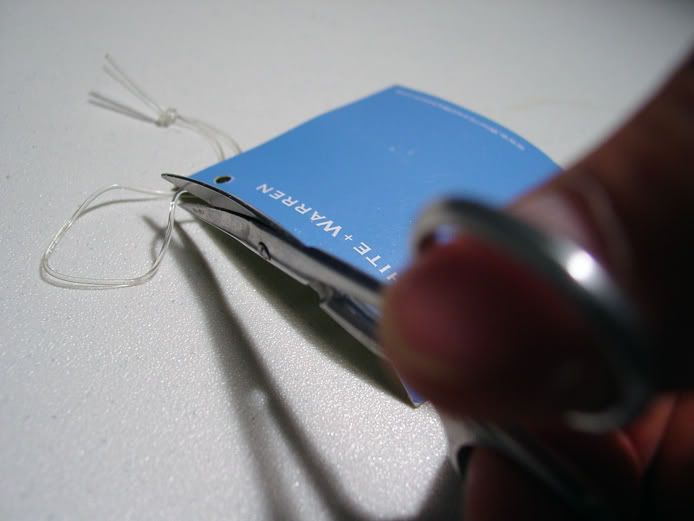
A frantic search ensued in my wifes closet, and as luck would have it, I located a brand new cashmere sweater that my wife bought for herself. The tag was still attached to the garment by a small clear rubber string! Yes!! Back in business.!!!
I cut a fragment of the string and installed it on the figure. The thicker size, the clarity, and the flexibility of the tube were all PERFECT!!
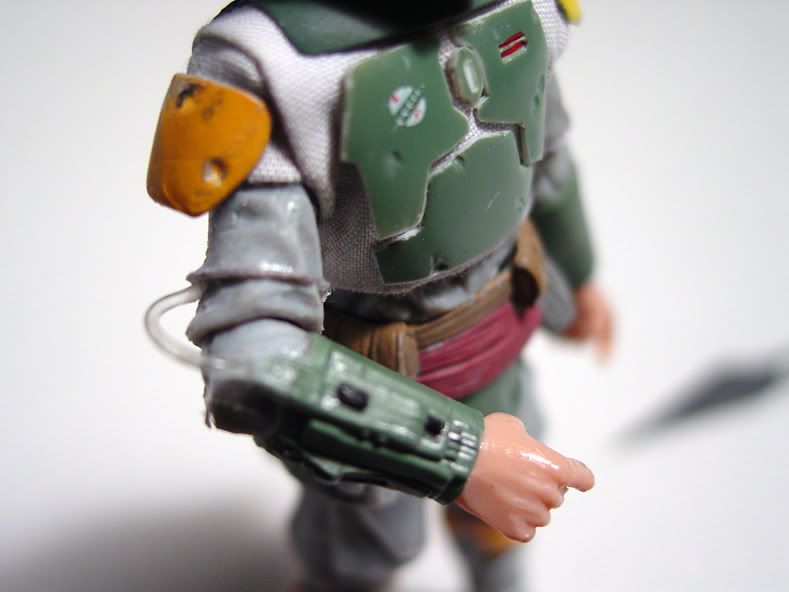
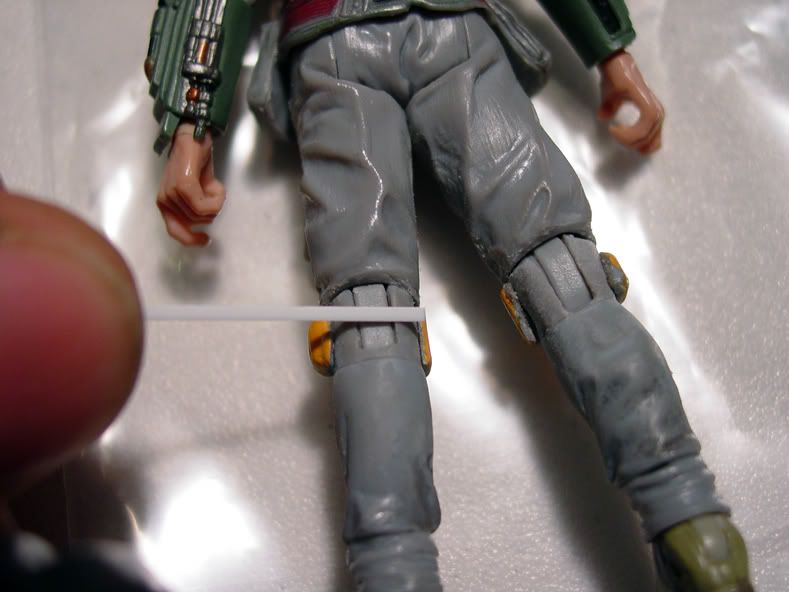
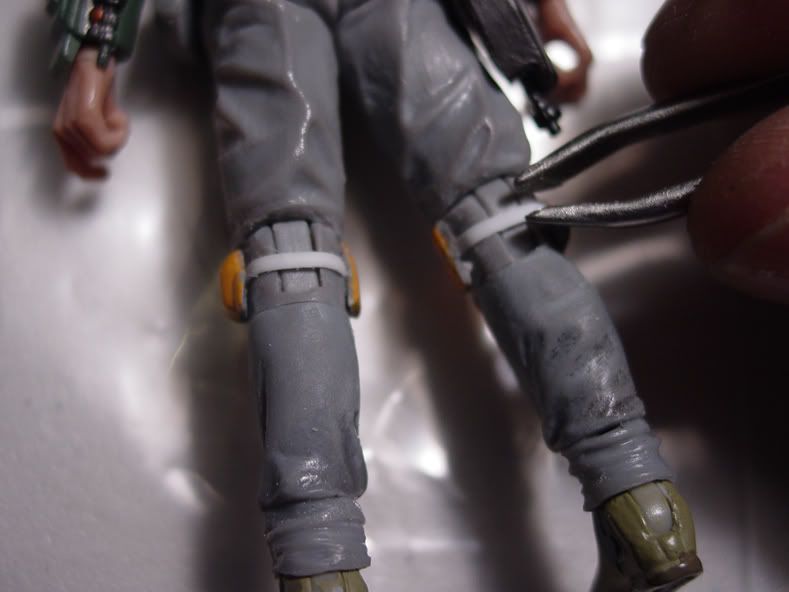
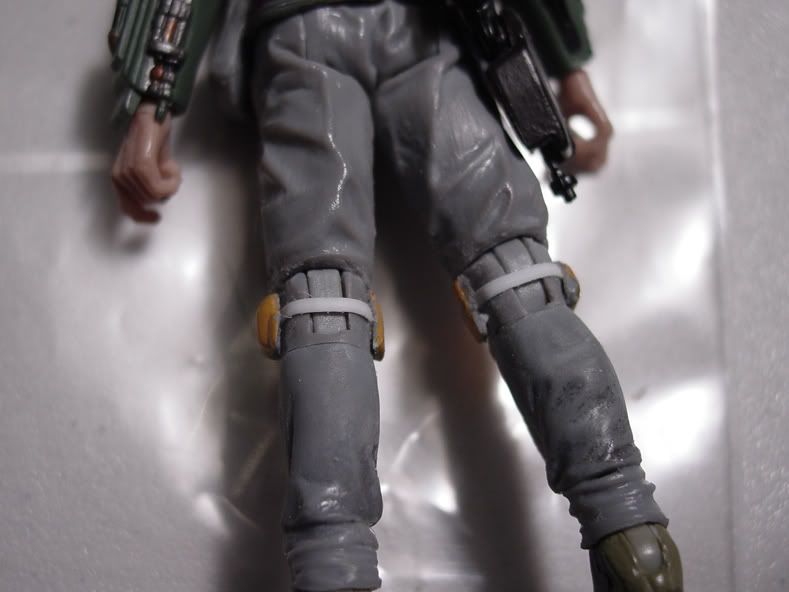
My next order of business was to add the straps for Bobas armored knee pads. A reasonably straight-forward operation. I used some Plastruct strip styrene to create the straps and glued them into place behind the knees, making sure that the leg articulation was un-affected.